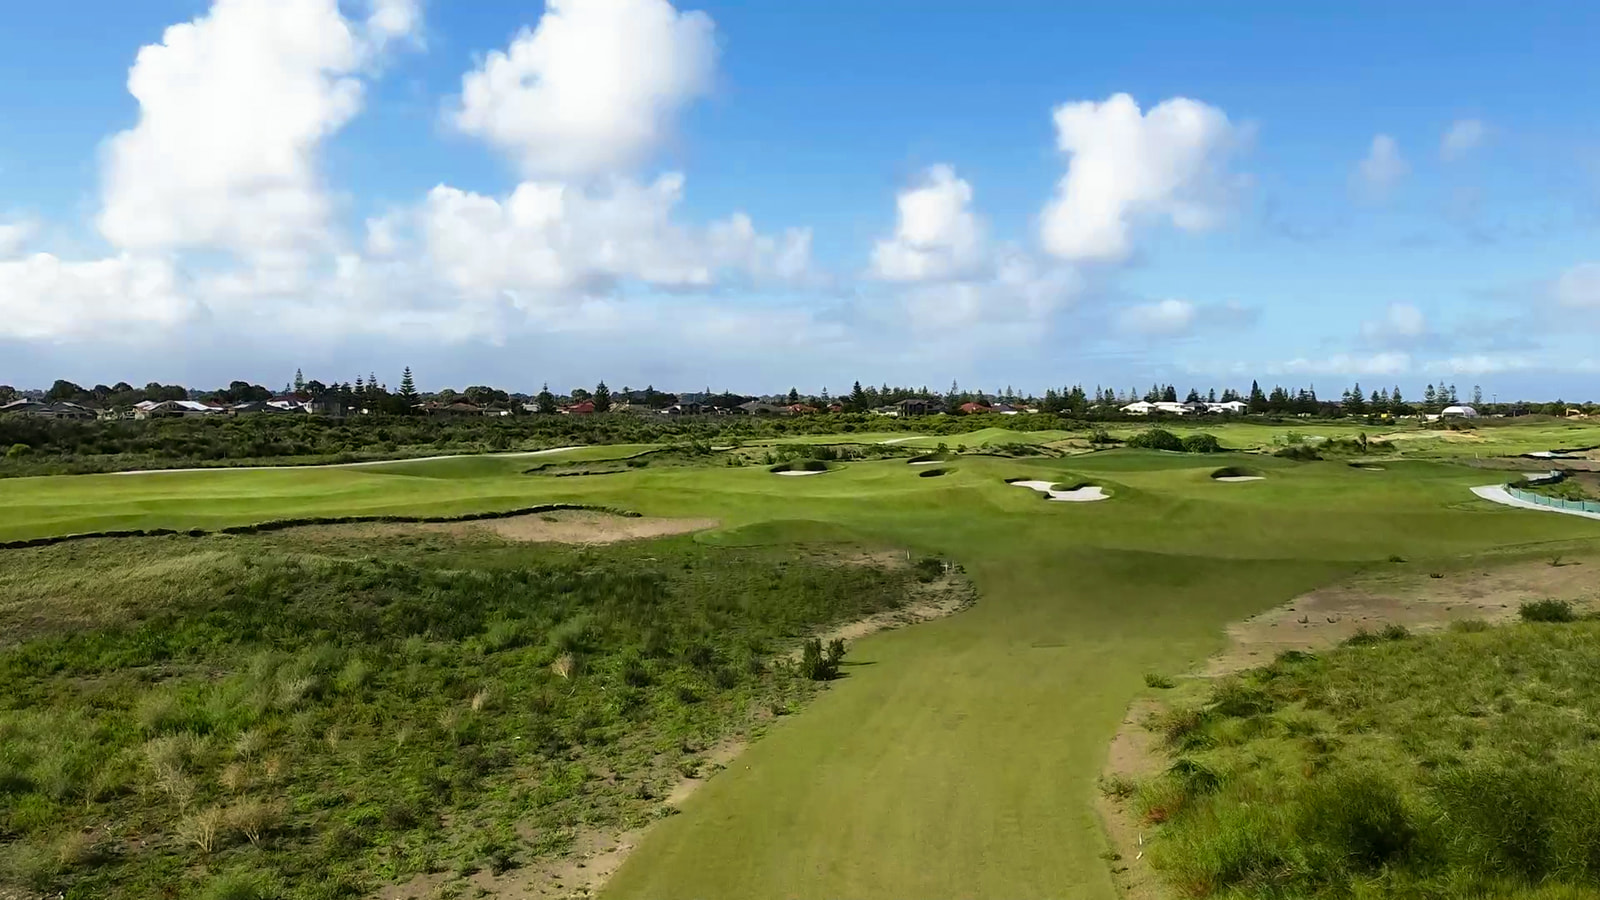
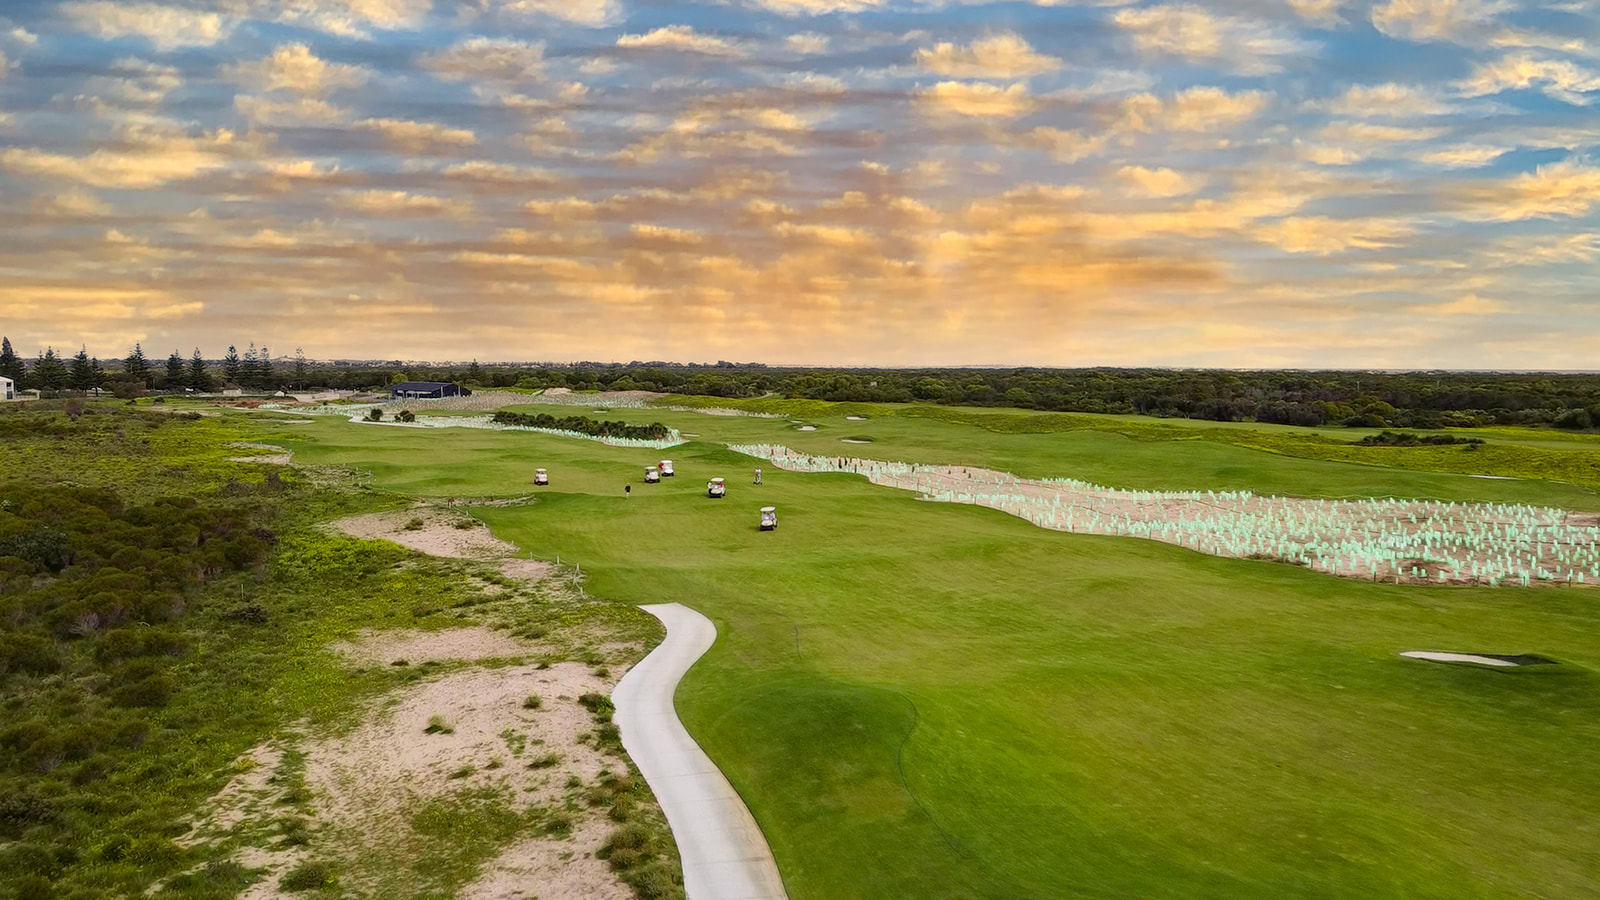
Hole 1 & 10: Par 4
(Black Tees: 366m, Blue Tees: 345m,
White Tees: 332m, Red Tees: 303m)
A tee shot aimed at the right-hand side of the left-hand fairway bunker will be ideal, if you select a club that will finish short of the tactically positioned right hand fairway bunkers.
This will leave you with a mid to short iron to a green has the opportunity for a range of different pin positions.
Hole 2 & 11: Par 4
(Black Tees: 354m, Blue Tees: 348m,
White Tees: 329m, Red Tees: 302m)
Similar to the first hole, a tactically positioned tee shot will hold you in good stead – you do not need to go out all guns blazing as it will only bring the hazards more in play.
There is slightly more room right off the tee than you think.
The green has a substantial false front, so be sure to take enough club to fly your golf ball beyond the front edge.
Hole 3 & 12: Par 3
(Black Tees: 162m, Blue Tees: 157m,
White Tees: 141m, Red Tees: 111m)
An extremely demanding par three – middle of the green here is ideal to all pin positions – do not be tempted to go ‘flag hunting’ as it will only lead to devastation, as there is a severe run-off to the back and right side of the green and precariously place bunkers to the left side of the green.
Par here is a great score!


Hole 4 & 13: Par 5
(Black Tees: 520m, Blue Tees: 497m,
White Tees: 471m, Red Tees: 438m)
A hole that can play very different depending on the wind – one moment – a true, three shot Par 5, then a gettable Par 5 if you can get a good drive away.
Trouble left and right – it may be worthwhile laying up off the tee as the fairway is at it’s narrowest at driver length.
Take note – avoid the fairway bunkers at all cost!
A very large and expansive green – be sure to check the pin’s location as front edge, to back edge is equivalent to four clubs.
Hole 5 & 14: Par 4
(Black Tees: 393m, Blue Tees: 380m,
White Tees: 366m, Red Tees: 309m)
A demanding a tee shot – if you can keep the ball on the high side of the fairway, you will reap the reward, as your drive will continue to run down the firm and fast surface.
Be very wary of a pin cut on the right-hand shelf – the landing area is very small; it is definitely not the flag to be taking on.
Hole 6 & 15: Par 4
(Black Tees: 424m, Blue Tees: 409m,
White Tees: 392m, Red Tees: 330m)
A very strong hole in all wind conditions – you should aim to the right-hand side of the fairway. This will provide you with the best accessibility to the green for your second shot.
The green is peppered with undulations – we would recommend landing your shot short of pin high as a ball that lands on these moguls will be found at the back of the green with a very difficult two-putt ahead of you.
Hole 7 & 16: Par 4
(Black Tees: 390m, Blue Tees: 378m, White Tees: 363m,
Red Tees: 303m)
Quite a sharp dogleg to the left. A tee short that hugs the left corner bunker will provide you with the best view of this relatively blind green.
This green is very unique to Links Kennedy Bay – it is the only one on the front nine that does not have a bunker around the green complex.
When approaching the green, aim to keep the ball on the right-hand side of the flag, as the green has a right-to-left aspect. There is more space hidden behind the mound the impedes your view of the green than you think!
Hole 8 & 17: Par 3
(Black Tees: 201m, Blue Tees: 194m, White Tees: 185m,
Red Tees: 158m)
A very long Par 3 for golfers of all abilities. The aim of this tee shot should be to aim to carry the awkwardly positioned bunkers guarding the front of the green.
If this can be done successfully, your ball is likely to make its way to the front edge of the green, leaving you in a great position to attempt to score a par.
The green is has very subtle undulations, so it is worthwhile looking at your putt from multiple directions before you pull the trigger.
Hole 9 & 18: Par 4
(Black Tees: 407m, Blue Tees: 400m, White Tees: 373m,
Red Tees: 335m)
Regarded as one of the hardest golf holes in Western Australia, a tee shot finding the fairway is imperative to score well on our ninth hole.
This dogleg left has five of our unique pot bunkers guarding the inside of the corner. If your tee shot finds one of them – good luck to you in making a five, let alone a four.
If you manage to navigate your golf ball onto the short grass, you will have a long and very intimidating shot into the green guarded by three bunkers on the right, a false front and a drop-away to the left-hand side of the green.
Be sure to take enough club for your second shot if you are aiming to land on the green, as it is very large, and your ball will be affected by the true force of the wind as the green is very exposed to all conditions.
This finishing hole has ruined many a good round, so a bogey is by far from a poor score.
Fingers crossed these tips will help you gain the full experience of what Links Kennedy Bay has to offer.
